Blocking 101
Blocking is one of the most transformative processes in knitting. During its first wash, a woolen hand knit will undergo a profound change, as the fibers plump up and cohere into a beautifully even, sturdy fabric. A project is never truly finished until it’s been blocked!
In our tutorial video, we show you the basics of washing and blocking your hand knits, along with more advanced techniques for blocking sweaters, lace, and hats to achieve a professional finish.
Read on for a list of helpful blocking supplies and step-by-step instructions for each of our blocking methods.
Blocking Tools
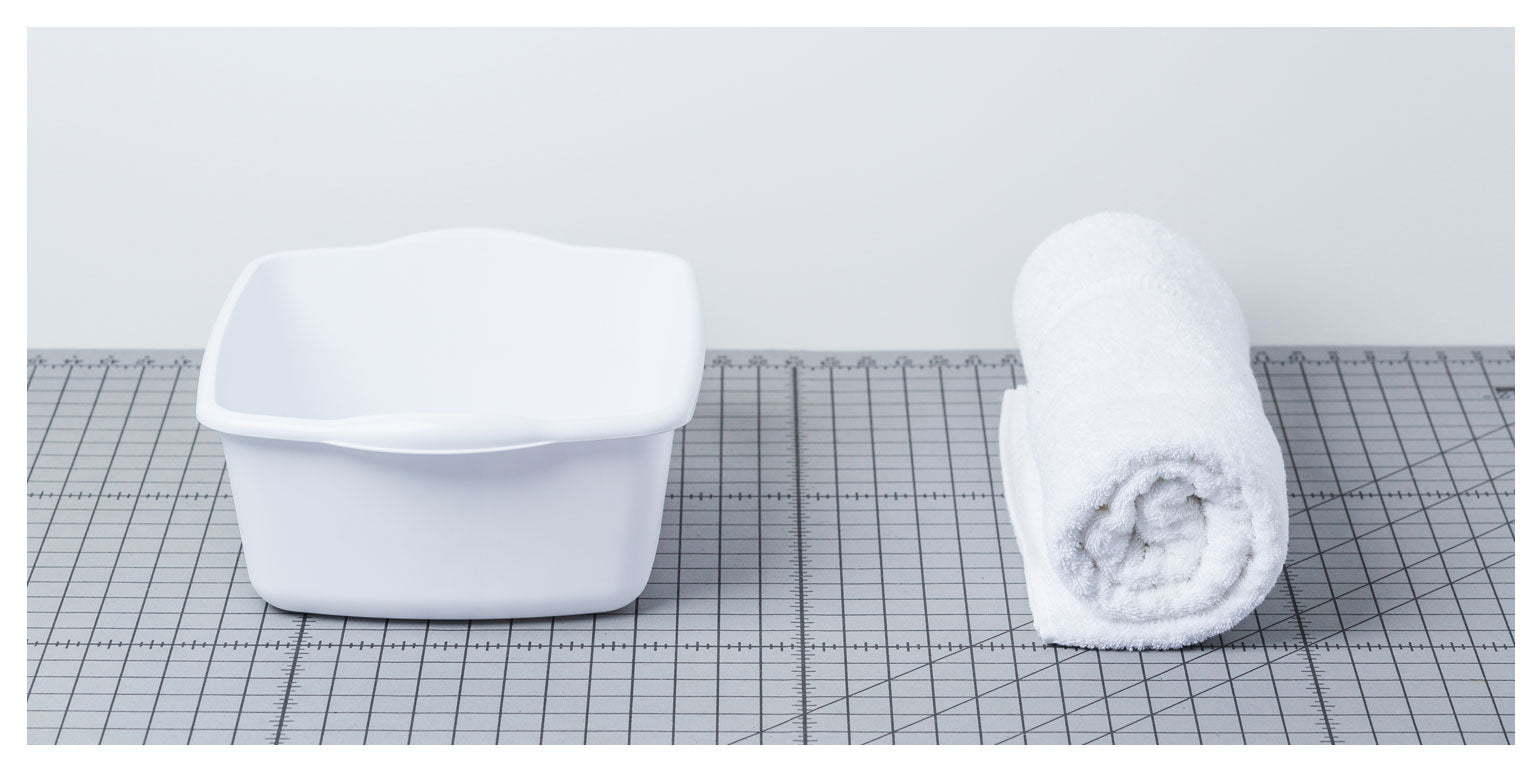
~ A basin or sink
~ Gentle soap, detergent, or wool wash
~ Towels
Use older, clean towels in case dye transfer occurs.
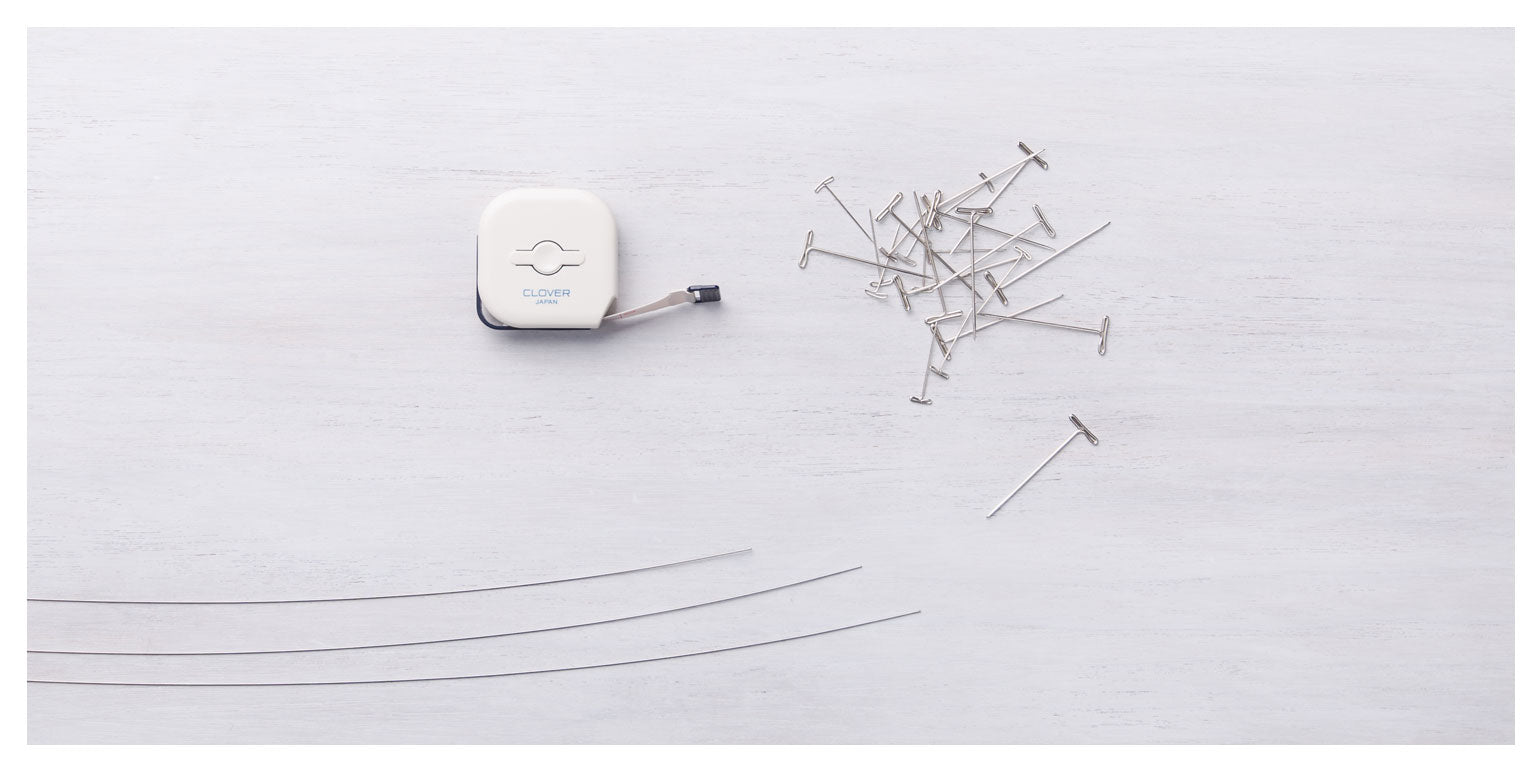
~ Rust-proof T-pins
The rust-proof part is important, as the pins will be exposed to moisture during the drying process and rust stains would be permanently visible on your finished item.
~ A measuring tape
~ Your pattern or schematic
If you knitted your item from a pattern, it’s helpful to have the finished dimensions on hand for quick reference.
Optional:
~ Blocking mats or a blocking board
Blocking mats and boards are often made of rubber foam and can provide an easier surface to pin into.
~ A set of stainless steel blocking wires for crisp, straight edges
Wires come in a variety of weights. Some are thin and flexible — perfect along shorter curved edges — while others are a bit more sturdy and work well along the straightaways of a scarf or stole.
Tip: If it’s your first time practicing these blocking techniques, why not try them out on a swatch? It’s important to always block your swatch in the same manner you’ll block your finished project in order to ensure an accurate finished gauge.
Please note that our directions are specific to the blocking of wool fabrics. If you are knitting with a different fiber, please double-check the manufacturer’s directions for proper handling.
Washing
First, fill a clean sink or basin with water. For water temperature and soaking time, follow the manufacturer’s recommendations for the yarn used. For knits in any Brooklyn Tweed yarn, use cold water for best results.
Add a small amount of gentle soap, rinseless wool wash, or wool soap to the soaking water.
Watch our video tutorial — How To Use Wool Soap
To soak, submerge the fabric, gently squeezing out any air bubbles so that the piece can remain under the water without being held there. Soak until completely saturated, for up to 10 minutes.
While our dyes are thoroughly tested for colorfastness, a small amount of excess dye may rinse free during soaking. Using cold water, soap or detergent, and a short soak time will help prevent color redeposit on light-colored fibers.

Once your item has finished soaking, lift it out of the water, making sure to support its weight evenly so that the wet fabric doesn’t sag and stretch the garment — wool can absorb a lot of water and become quite heavy!
If not using a rinseless soap or detergent, you will need to re-submerge the piece in clean water once or twice to rinse. Never place any wool item under running water, as the motion of the water may felt or full the wool.
Gently squeeze (never wring) to remove excess water. Then roll your item between clean, dry towels with light pressure to further remove moisture.
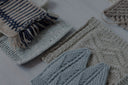
Shaping and Pinning
Find a location to block your item where it won’t be disturbed while it dries (beware, pets tend to gravitate to freshly-blocked knits!). Cover a clean area of carpet or mattress with a bedsheet or pin straight into your blocking board or blocking mats. Cork wall boards can also keep smaller items like shawls up and out of the way as they dry — plan on a second set of hands to help pin the item to a vertical surface.
Gently spread the damp item out into a rough approximation of the desired shape — square, rectangle, or triangle — by hand.

For straight edges (e.g. the sides of a scarf, the sides of a pieced pullover, or the tops and sides of a triangular shawl), carefully run your blocking wires through the space between your selvedge stitch and its neighboring stitch at short and regular intervals along the edge. Be tender as you go; remember that wool is at its most vulnerable when wet. As you work, refer to the pattern’s schematic and measure from the center of the work if working on a symmetrical piece. If you are sizing up or down, keep the proportions in scale to the original. By practicing on a swatch, you can determine the best place to insert your wires to avoid unsightly gaps in the finished piece.
Once you have inserted your blocking wires, place pins along the inside of each wire at consistent intervals while stretching your item to the desired dimensions. It is helpful to insert each pin into the blocking surface at an angle — this will keep the pins and blocking wires more stable as the fabric dries. If you haven’t yet invested in blocking wires, simply use more pins at the straight edges of your item to prevent scalloped edges at each pin.
For curved edges (e.g. a sleeve cap or a neckline), simply pin at short and regular intervals along the curves.

For circular shawls, blocking wires are not suitable. Instead use pins along the outer perimeter, starting by blocking the four “compass points” (north, south, east, and west), then placing four additional pins, one each halfway between the four compass points. Continue in this manner, inserting pins at regularly spaced intervals around the shawl perimeter, to ensure symmetry in your final dimensions. For a pointed or scalloped edging, use one pin per each point for a decorative effect.

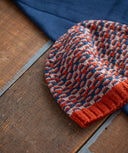
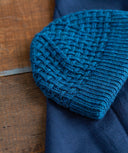
For hats, pin the brim flat but let the crown curve off of your surface. Rotate and reposition every couple hours to form an even curve on the crown and to prevent creases from forming on the sides. One of our favorite tricks is to block the hat over the underside of a bowl and then balance the upturned bowl over a paper towel roll or other cylindrical object.
To steam block, lay finished project flat on an appropriate blocking surface, smoothing fabric flat with your hands. Pin garment or item to instructed dimensions (see pattern Schematic), using T-pins or blocking wires if necessary. Set your iron to the wool setting (medium temperature with steam) and prepare a press cloth (a flat cotton or linen tea towel or piece of cloth of similar weight) by soaking it in water and wringing it out. Lay the damp cloth over the fabric and hold the iron about ½"/1.5 cm above the cloth, sending bursts of steam through the cloth. The damp cloth will add extra steam and prevent you from accidentally scorching the fabric. Re-wet the cloth as needed. Move the cloth and steam each section of the piece. Allow to dry completely before removing/unpinning.
In general, when stretching and pinning your fabric to shape, use a tape measure to verify overall symmetry and finished dimensions of the project. Because wool will often spring back slightly from the blocked dimensions after unpinning, you may wish to block your finished item 5–10% larger than the listed finished dimensions to account for slight shrinkage after unpinning.
Fight the urge to overblock. Blocked wool has a memory and overblocking can permanently strain the wool fibers. If your unblocked gauge is significantly smaller than recommended, do not try to make that up in the blocking but rather block to an appropriate drape for the chosen yarn, or re-swatch to achieve a proper gauge that does not rely on stretch-blocking to achieve the desired finished dimensions.
Let the item dry completely before unpinning. Weave in any remaining ends invisibly on the wrong side of the fabric. Over the next 24 hours you may find that your garment relaxes a bit, which is normal (see our tip above about blocking slightly larger than your target finished dimensions). Store your new treasure neatly folded to preserve the crispness of the blocked fabric (unless you are proudly wearing it, of course!).
When properly stored and cared for, wool will hold a crisp blocking for months to come.
Happy blocking!
Shop our Latest Patterns


Checkers

Cyro

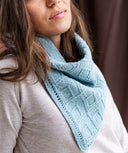
Diamants Cowl


Diamants Hat


Matches


Diverge


Grooves

Loomed